If you’re planning to build a backyard sport court, one of the biggest factors that will impact cost, complexity, and long-term durability is what’s beneath the surface. Your backyard might seem flat, but even small slopes can require extensive excavation and site preparation before concrete can be poured.
In this guide, we’ll break down:
✔ Why excavation is necessary and what to expect
✔ How cut and fill works to level your court
✔ When you need a turn-down beam (and what it costs)
These steps are crucial to ensure your court is stable, long-lasting, and built to handle the demands of your sport—so let’s dive in.
Why Excavation Matters: Your Yard Isn’t as Flat as It Looks
Most homeowners assume their backyard is relatively level—after all, their kids play soccer on it without any issues. But when you start measuring elevation changes, even a small slope can lead to major construction challenges.
Example: A 10-Foot Slope
On a recent project, we were working on a site with 10 feet of elevation change from one end to the other. That’s a significant amount of fall, and if we didn’t correct it, the court would be completely unplayable.
At this point, there are two options:
- Full Excavation & Dirt Haul-Off – You could dig a deep hole and haul the dirt away, but this is one of the most expensive solutions.
- Cut & Fill – A more cost-effective approach that involves cutting into the high side and using that dirt to fill in the low side, creating a level surface.
Most projects use cut and fill because it’s the most practical solution, but the soil type and depth of excavation will affect the overall cost.
The Most Common Site Prep Method: Cut & Fill
✔ “Cut” refers to removing dirt from the higher side of the slope.
✔ “Fill” means taking that dirt and moving it to the lower side to build a level surface.
This method is efficient and cost-effective, but there are a few things to watch out for:
- Bedrock or large boulders – If we hit hard rock, we may need to jackhammer through it, which costs around $1,000 per day in labor and equipment wear.
- Soil stability – If the soil is too loose, it may require additional compaction and stabilization before a concrete slab can be poured.
In some cases, a retaining wall may be required to hold back the fill dirt—which brings us to our next critical element: turn-down beams.
What Is a Turn-Down Beam & When Do You Need One?
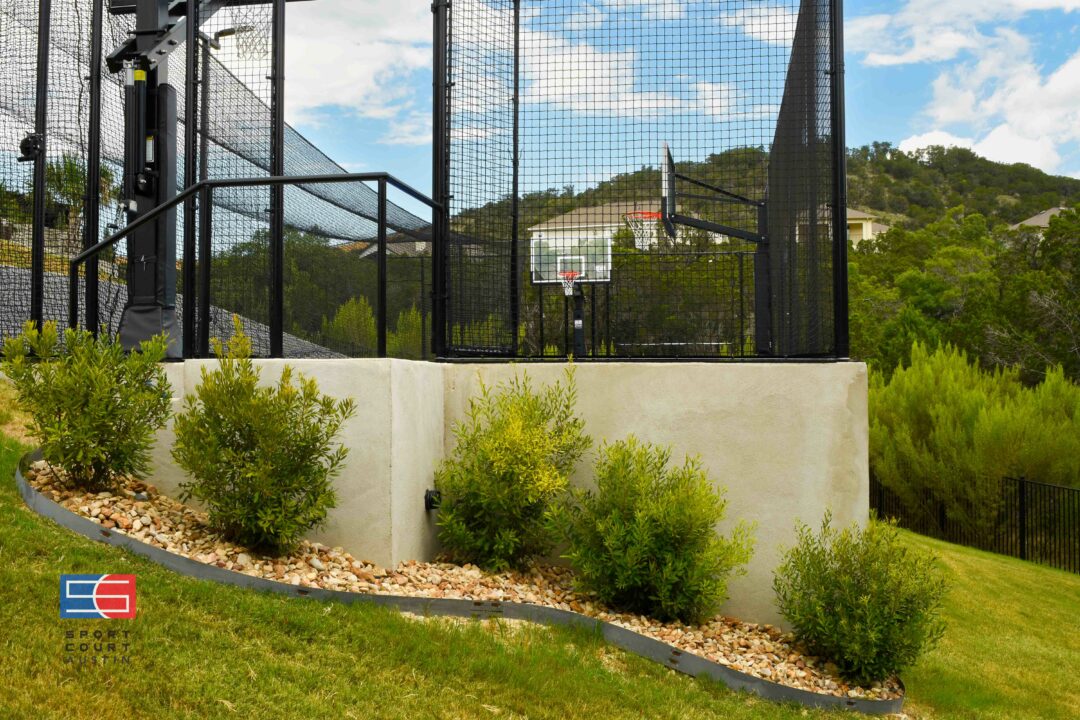
A turn-down beam is a reinforced concrete structure that acts like a built-in retaining wall to hold back dirt and prevent shifting. It’s necessary when the low side of a court is built up with fill dirt, as the weight of the court needs a solid foundation to prevent movement over time.
How a Turn-Down Beam Works
✔ A trench is excavated along the lower edge of the court.
✔ Rebar reinforcement is installed to strengthen the beam.
✔ A “bag wall” is built—sandbags are stacked and compacted to create a sturdy base.
✔ Concrete is poured over and around the reinforcement, forming a thick, structural wall.
✔ The forms are braced to prevent a concrete “blowout” during the pour.
Once the forms are removed, the turn-down beam provides the necessary support to prevent soil erosion, structural shifting, and long-term damage.
Turn-Down Beam Costs
The cost of a turn-down beam depends on how deep and thick it needs to be.
✔ Under 4 Feet Tall: ~$10 per square foot
✔ Over 4 Feet Tall: $25–$30 per square foot
Why the cost increase? Taller walls require:
- More concrete thickness (typically 12 inches instead of 8 inches)
- Additional bracing to prevent collapse during pouring
- More rebar reinforcement for structural stability
If a slope is steep enough that a full retaining wall is required, costs can be significantly higher—which is why a turn-down beam is often the most cost-effective solution.
Other Factors That Affect Court Placement & Excavation
Before starting excavation, it’s important to check for potential obstacles that could impact your court’s placement.
1. Impervious Cover Limits
Many cities limit the amount of surface area on your property that can be covered with non-permeable materials like concrete. For example, some areas allow only 45% impervious cover, meaning 55% of your lot must remain permeable.
2. Utility Easements & Property Lines
✔ Public Utility Easements (PUEs) and property lines should typically be avoided.
✔ Flatwork (like a court) can sometimes go over building lines, but it’s best to confirm with local regulations.
3. Tree Protection & Critical Root Zones
In some cities, large heritage trees (such as oak, elm, and pecan) have protected root zones where excavation is restricted. Always check your local codes before planning a court near mature trees. Click here for more into from the city of Austin
4. Underground Utilities
✔ Always call 811 (“Call Before You Dig”) before excavation.
✔ This ensures you don’t hit gas lines, water pipes, or buried electrical cables.
TL;DR:
✔ Your yard might not be as flat as it looks—even small slopes can impact court construction.
✔ Cut & fill is the most common way to level a court, but bedrock or unstable soil can add costs.
✔ Turn-down beams provide structural support when a court is built up on fill dirt.
✔ Costs depend on wall height—under 4 feet is affordable, over 4 feet requires more reinforcement.
✔ Regulations like impervious cover limits and utility easements should be checked before planning.
Have questions about your site? Let’s talk about your property and the best approach to leveling your court.
")


