Nothing kills the backyard hoop dreams faster than realizing your adjustment handle is now in a wrestling match with the fence. It’s one of those sneaky little issues that doesn’t show up on a court layout… until it does. And suddenly, that premium adjustable hoop you picked out? It’s now locked in place because you need yoga arms and a minor in contortionism to reach the handle.
This is the kind of real-world snag we run into all the time while building backyard basketball and multi-sport courts. And the kicker? It’s totally avoidable—with a little planning and the right equipment choice up front.
Let’s walk through a classic fencing vs. hoop adjustment dilemma, and break down the options for keeping your court usable, clean, and frustration-free.
The Dilemma: Rear-Adjustment Handle vs. Court Fencing
Most quality adjustable basketball systems use a crank or handle that sits on the back of the pole. It’s a great setup… unless your court is fully enclosed with fencing (which most are, because no one enjoys playing fetch with their basketball down a hill, into a bush, or across the neighbor’s koi pond).
And here’s where things get messy:
When the hoop is installed right at the court’s edge, there’s usually no room behind it to operate that rear adjustment handle. That leaves players awkwardly reaching around from the front—like they’re giving the pole a bear hug—to change the height. It’s technically possible. It’s also 0% fun.
Option 1: Break the Fence for Rear Adjustment Access
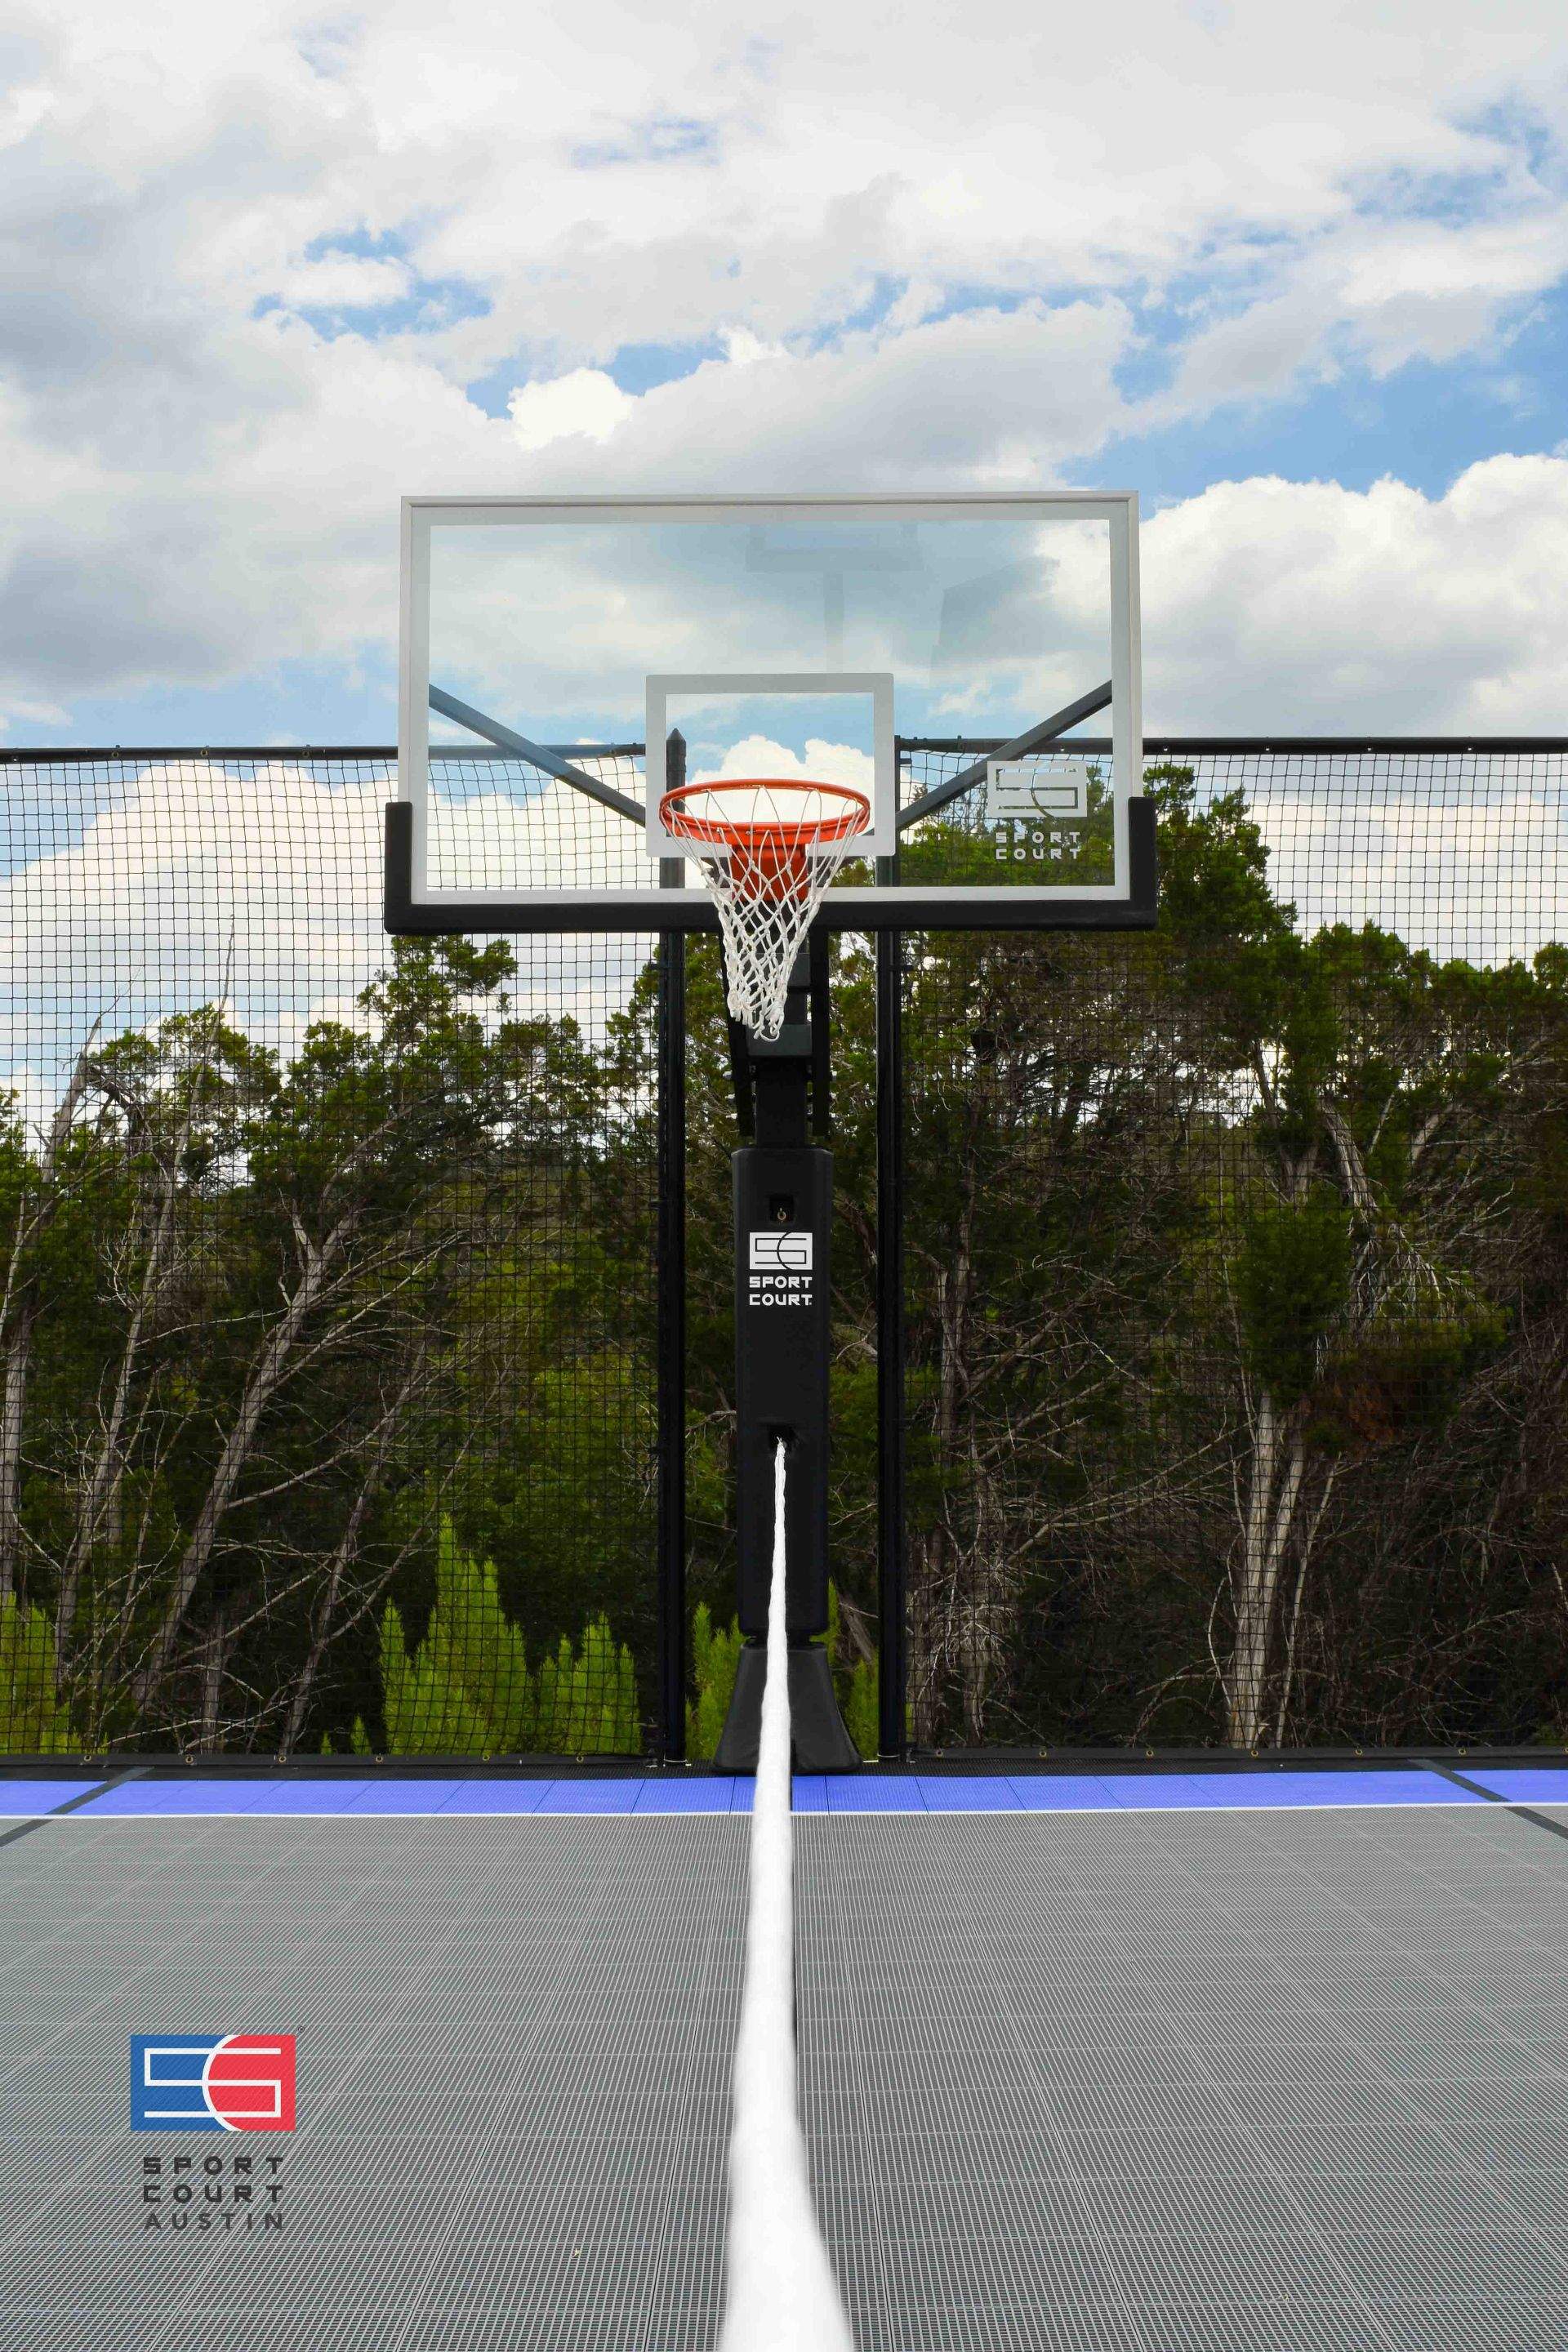
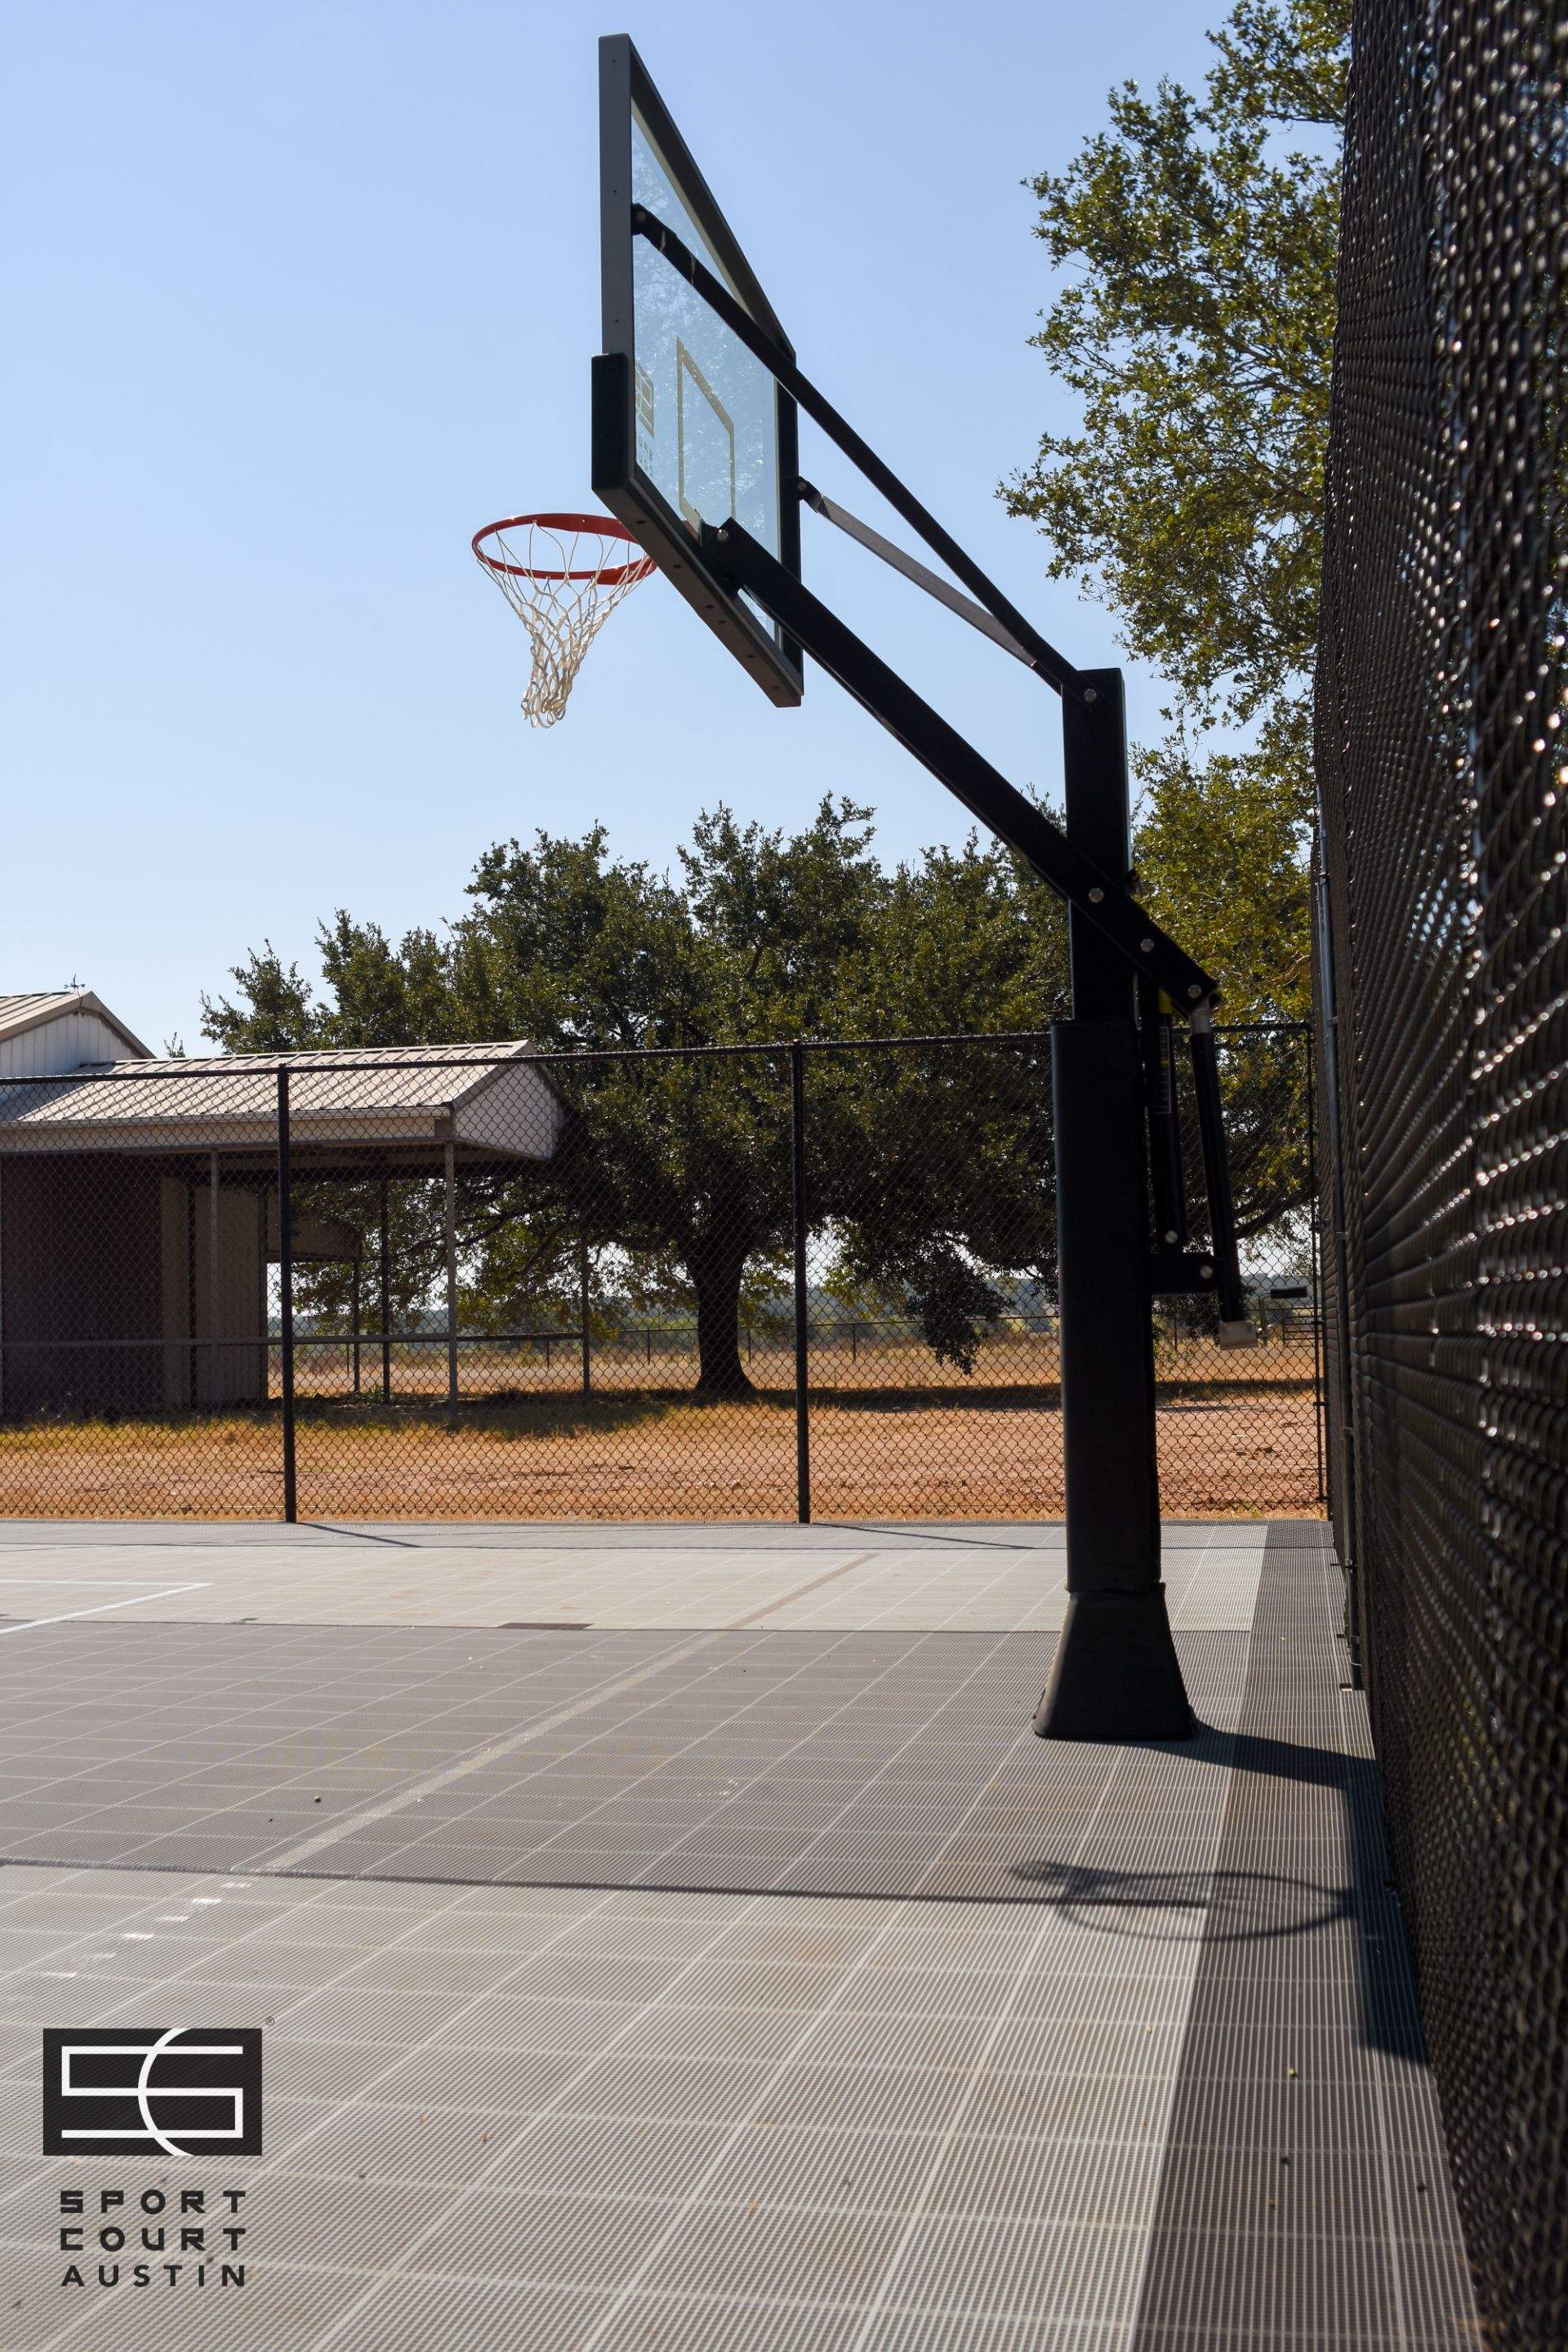
This is the most common solution we see. The basketball goal goes right on the edge of the court, and the fencing is “notched” on both sides of the pole to leave clearance for the rear handle.
It keeps your playing area wide open—but the usability takes a hit. You have to walk behind the hoop to change the height, which is a no-go if your court is up against a retaining wall or tightly wedged into your yard layout. And that little fence break? It’s kind of like giving your court a missing tooth.
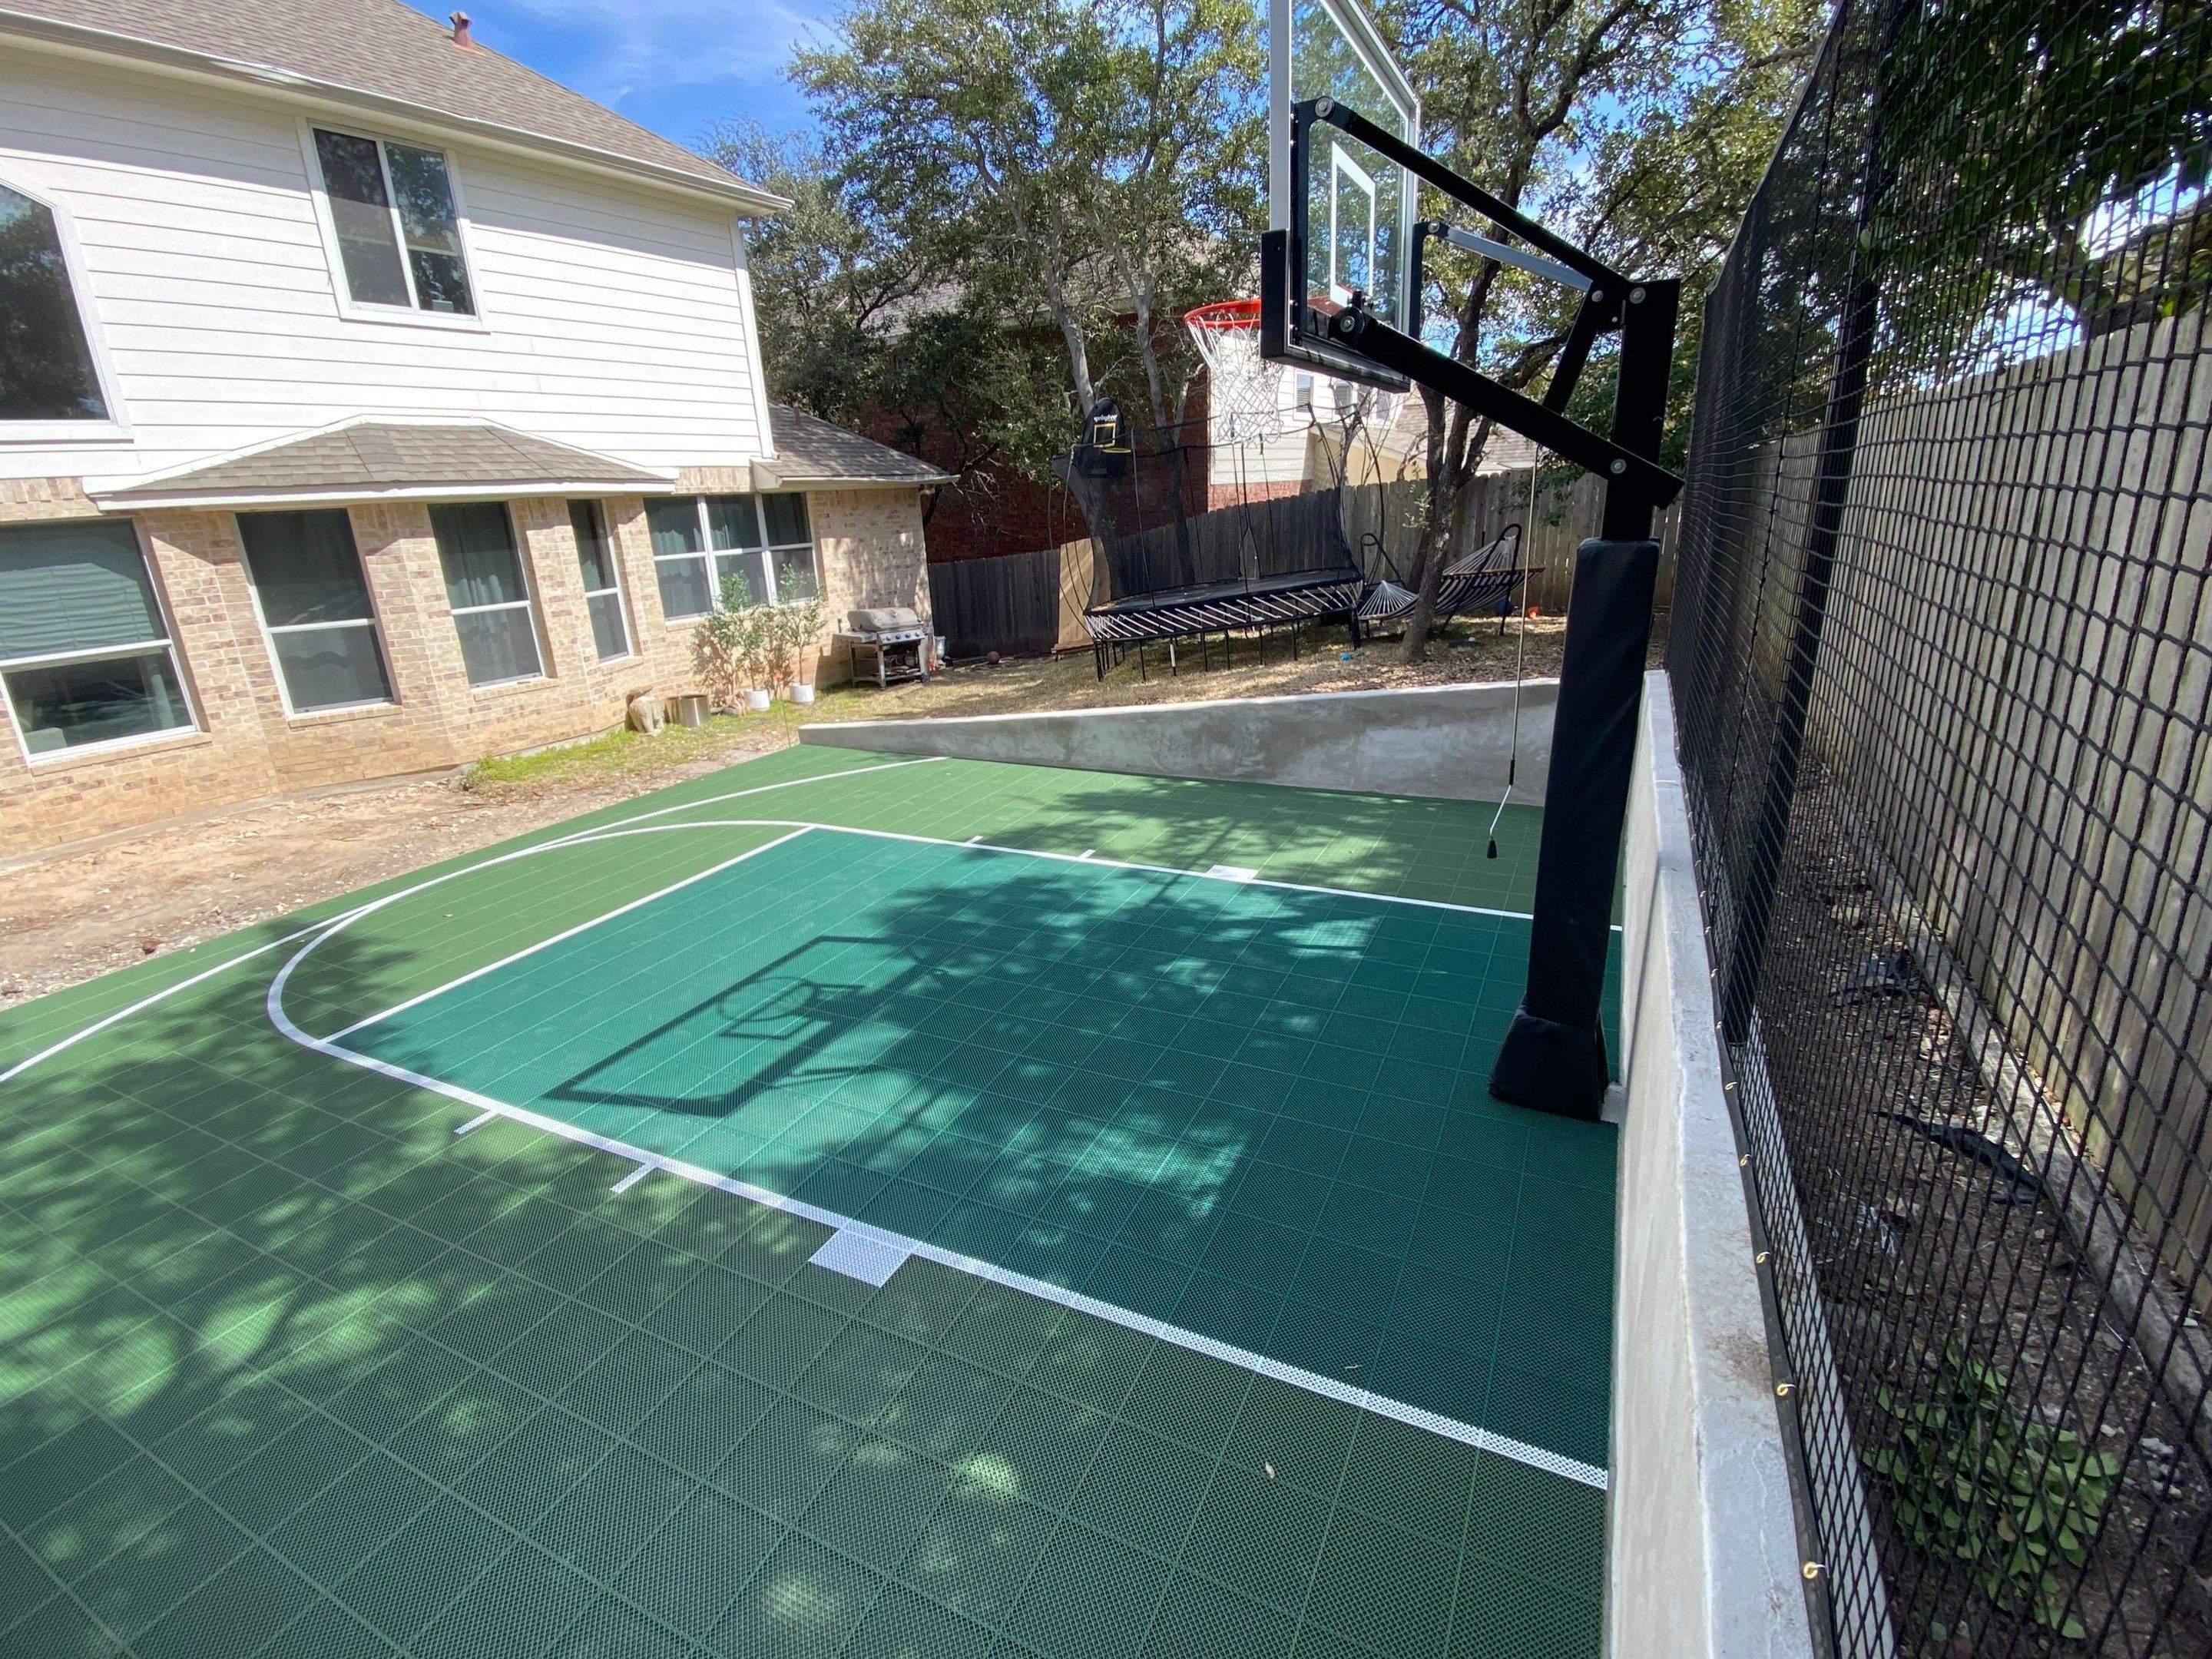
Option 2: Move the Goal Inside the Court
Another route? Pull the hoop forward into the court by about 16 inches. That gives you enough space behind the pole to operate the rear handle properly—no fence surgery required.
But here’s the trade-off: You lose valuable court real estate. Specifically, the sweet shooting zone right at the top of the 3-point arc gets tight. And if you’re designing a multi-sport setup (say, basketball and pickleball), that push-forward can create conflicts in the layout.
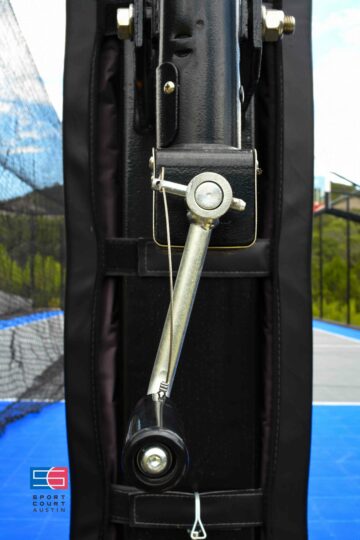
Option 3: Use a Front-Adjustment System
Here’s our go-to solution—and one that more clients are loving once they see it in action: Use a front-mounted height adjustment system.
These models use a detachable crank or wand that attaches at the front of the goal. That means you can still install the hoop flush with the court’s edge, fence intact, and keep all your playing area. You lose zero feet, zero inches, and zero knuckles.
Sure, you have to keep track of the wand (it’s like the TV remote of basketball goals), but the trade-off is worth it for how clean and functional the layout ends up.
Making the Right Call
Look, every court is different. Some families want to maximize their play space. Others prioritize sleek, uninterrupted fencing. And multi-sport users need to keep a lot of lines and layouts in harmony. That’s why we always walk clients through the pros and cons—with court diagrams and equipment comparisons in hand—before making the call.
Because what looks like a small design detail today can be the thing that makes or breaks how much you actually use your court down the road.
And trust us—no one wants to relive the moment they had to “bear hug the pole” just to lower the hoop for a 5th grader.
")


